to doston aaj ki is blog Mein Ham Baat Karne Wale Hain Ki Kis Tarah Se aap yellow tone lightroom preset ka use kar sakte ho ya edit kar sakte ho to aap log is post se pahle aap video per jao yani ki YouTube video per jao aur vahan per dekhna ki video mein
aur preset me password Laga Hai Ya free hai theek hai donon chij aapko dekhna hai ki video Magar password Laga hoga to aap Dhyan se is video ko dekhna Agar password Nahin Laga Ho To free hoga aaram se aap log dekh lena theek hai to Chaliye

Yahan per aap Logon Ko step bye step bataya Jaega aap log Dhyan se Dekho aap aaram se edit kar lo agar koi dikkat bhi Aaye yellow tone lightroom preset edit karne mein to aap direct mujhse baat kar sakte ho aap mera Instagram per aap contact kar sakti ho
aur is blog ko pura padhe hai aur tabhi aap log Dhyan se aap download kar Sakoge preset aur edit kar sake Hoga theek hai edit mein koi bhi dikkat hai to aap contact karo theek hai
ab Yahan per do language use Kiya Gaya Hai Hindi aur English Agar Jo user Hindi mein padhna chahte ho aaram se padh sakte ho Jo English mein padhna chahte ho padh sakte ho koi bhi dikkat I language mein bhi to batana theek hai donon Ke Liye Main banaa Diya hun fatafat dekho aur padhte jao aur banate jao theek hai
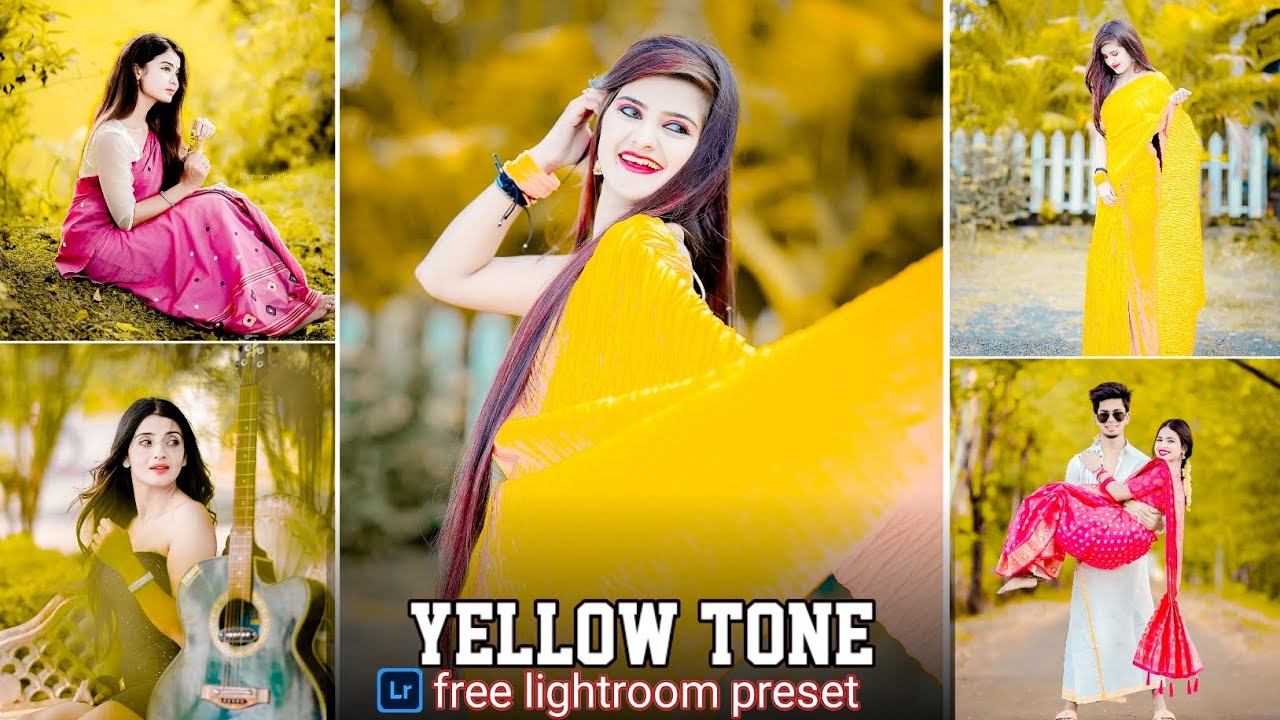
speaical yellow tone lightroom preset to friends today’s blog is about the ways in which you can use yellow tone lightroom preset or edit it to your log before posting this, go to the video i.e. Go to YouTube video and watch the video on vehicle.
Aur preset me password hai hai ya free hai thek hai daon chij aap dekhna ki video magar password hai to aap dyan se dekhna hoga Agar password nahin hai ho to free hoga aaram se aap log lena dekh hai hai to Chaliye
Here I will tell you step by step, you will see my log carefully, you can edit it comfortably if anyone cares, you can directly talk to me in editing the yellow tone lightroom preset you can contact me on my Instagram.
And you have read this blog completely and only then you log in carefully, you will be able to download the preset and edit it.
ab Here for which language is used Hindi and English If the user wants to read in Hindi, you can read comfortably Those who want to read in English can read, you can also pay attention I have also given the information in the language, this is made for both. Look at the fatata given to you, read it and make it.
yellow tone lightroom preset
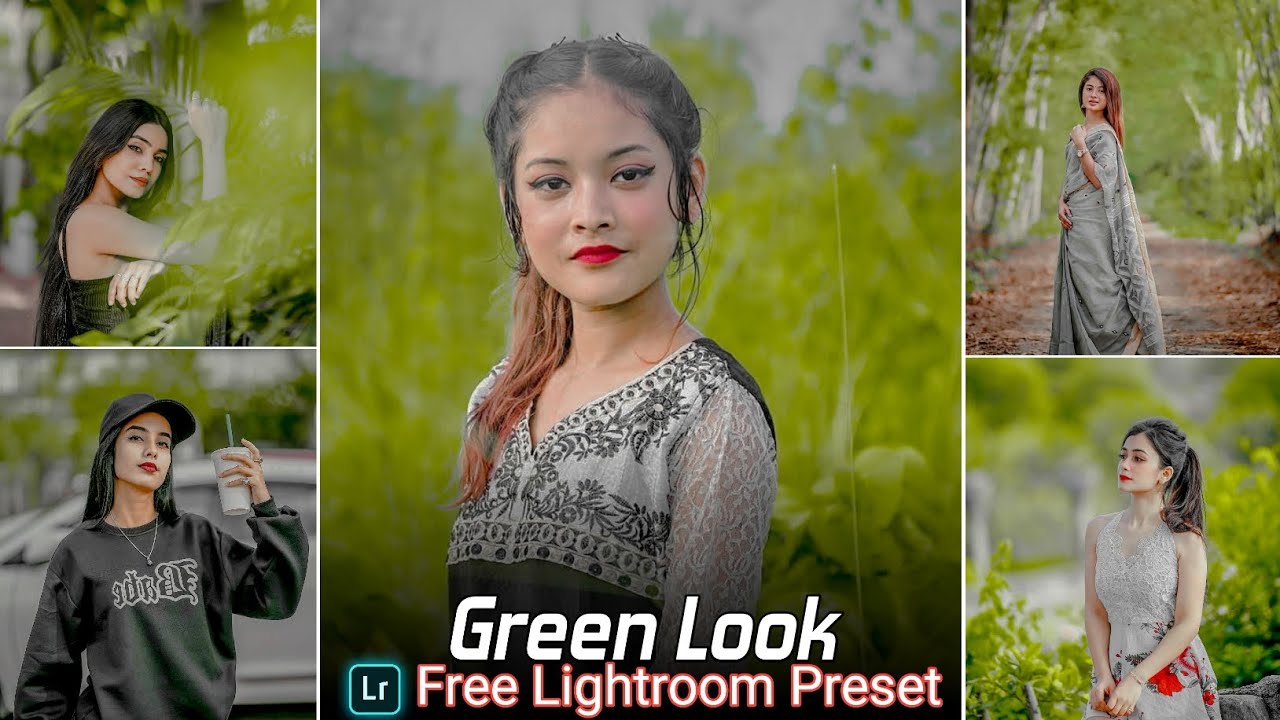
jaise ki ham log Jaan Rahe Hain ki abhi Digital Photography Ki Duniya Hai theek hai to Hamari photo jo bhi click Hoti Hai vah DSLR Hai photo ya mobile se bhi click Hoti Hai To usmein acchi nahin aati hai isliye
yah preshit Ka Jo hamari Chhavi ko matlab Hamari photo ko acchi Behtar banane ke liye ham log lightroom preset ka use karte hain to ham log yellow tone lightroom preset se pahle janenge ki lightroom preset Hota kya hai
to doston lightroom preset ka matlab yahi hai ki jo bhi aapane photo click Kiya theek hai ya vah fiki ho ya thoda sa color Jo color maintain karne ke liye ham log lightroom apk ka use karte hain
aur acchi Behtar photo banane ke liye bhi use karte hain lightroom app mein thoda sa aap apne photo ka color Badha sakte ho aap apni photo mein Chamak La sakti ho theek hai
- Start with a Photo: Choose a photo with a neutral or slightly warm color balance.
- Adjust White Balance: Warm up the image by adjusting the white balance towards the yellow side. You can do this in the “Basic” panel.
- Tune Colors: In the “HSL/Color” panel, enhance the yellow and orange tones. Increase saturation for a more vibrant look.
- Adjust Tone Curve: Create a gentle ‘S’ curve in the tone curve panel to add contrast. Lift the shadows slightly.
- Fine-tune Exposure and Contrast: Make adjustments to exposure, contrast, highlights, shadows, whites, and blacks to achieve the desired look.
- Add Grain (Optional): For a vintage or filmic look, you can add a touch of grain in the “Effects” panel.
- Split Toning: Add a warm yellow tone to highlights and shadows in the “Split Toning” panel.
- Sharpening and Noise Reduction: Adjust sharpening and noise reduction settings in the “Detail” panel.
- Save as Preset: Once you’re satisfied, save your adjustments as a preset. Click the ‘+’ icon next to “Presets” in the left panel, choose “Create Preset,” and name it accordingly.
to aaiae Aaj Ham Jante Hain lightroom presets Kaise edit Karen Niche jakar padhiye
As we are realizing that now the world of digital photography is fine, whatever photo we click is a DSLR or even a mobile photo, so it does not look good.
Yes, that means we use Lightroom preset to improve our image, so before Dark yellow tone lightroom preset we will know what is Lightroom preset.
Friends, the meaning of Lightroom preset is that you have also clicked the photo, whether it is fixed or has a little color, the color has to be maintained, we use Lightroom APK.
And to make better photos also use a little bit in lightroom app you can enhance the color of your photo you can bring brightness in your photo ok
Let us know today how to edit yellow tone lightroom presets read below.
lightroom presets
preset milane ke bad Kuchh step niche Diye Gaye use Dhyan se Dekhen aur use Tarah Se apply Karen yah aapki editing mein bahut jyada help Karega
After adding the preset, follow some steps given below and apply it properly, it will help a lot in your editing.
Download Lightroom Software
Sabse pehle, Adobe Lightroom Classic ya Lightroom CC ko apne computer ya mobile device par download aur install kare.
First, download and install Adobe Lightroom Classic or Lightroom CC on your computer or mobile device.
Open Lightroom
Lightroom ko open kare aur apne desired image ko import kare.
Open Lightroom and import your desired image.
Open the presets panel
Lightroom ke left side me “Presets” panel ko open kare. Yadi ye panel dikhayi nahi deta hai, to “Window” menu me ja kar “Presets” ko select kare.
Open the “Presets” panel on the left side of Lightroom. If this panel doesn’t appear, go to the “Window” menu and select “Presets.”
Select User presets folder
Apne yellow tone lightroom preset ko import karne ke liye, aapko apne preset file ko select karna hoga. Iske liye, “Presets” panel ke upar ek dropdown menu hoga, usme se “User Presets” ko select kare.
To import your yellow tone lightroom preset you must select your preset file. For this, there will be a dropdown menu above the “Presets” panel, select “User presets” from it.
Import Presets
“User Presets” par right-click kare aur “Import” option select kare. Ab aap apne computer se preset file ko choose kar sakte hain. Yeh typically ek .lrtemplate ya .xmp file hoti hai.
Right-click on “User presets” and select “Import” option. Now you can choose the preset file from your computer. This is typically a .lrtemplate or .xmp file.
apply preset
Import karne ke baad, aap apne image par preset apply kar sakte hain. Iske liye, apne image ko select kare aur “User Presets” me se imported preset ko select kare.
After importing, you can apply the preset to your image. For this, select your image and select the imported preset from “User presets”.
djustments (if necessary)
Preset apply karne ke baad, aapko preset ke according kisi bhi further adjustments ko karna hai. yellow tone lightroom preset typically color balance, exposure, contrast, aur saturation ko affect karte hain, isliye aap in settings ko customize kar sakte hain.
After applying the preset, you have to make any further adjustments according to the preset. yellow tone lightroom preset typically affect color balance, exposure, contrast, and saturation, so you can customize them in the settings.
Save/edit
Jab aap satisfied ho jayein apne edit ke saath, to apne edited image ko save karne ke liye “File” menu se “Export” option select kare.
When you are satisfied with your edit, select the “Export” option from the “File” menu to save your edited image.
Any qustion
is blog ko padhne ke bad aur yellow tone lightroom preset download ya edit karne ke bad Bhi Koi problem aati hai aapko to aap direct Mujhse contact kar sakte ho site Ke Niche aur Telegram Channel ka link Diya gaya hai
ya YouTube ka vahan bhi message kar sakte ho Instagram Ka bhi Diya Gaya aap vahan per kar lena aur aap log main Asha karta hun ki aap log yellow presets lightroom mobile edit kar liye Honge agar koi bhi dikkat hai to mujhe baten kar sakti ho
aap yahan se bhi direct mujhe message kar sakti ho main aaram se aapka message dekh Lunga aur turant reply Dunga Uske bad bhi guys bahut sari lightroom preset Hamari aane wali h
To channel ko subscribe kar lo aur channel per Bane Raho bahut sari preset aati hai to aap log download karte hain install karna agar koi bhi dikkat aaye to jarur batan ek baat aur kis type ki lightroom preset chahiye batana jarur
After reading this blog and after downloading or editing the lightroom yellow preset if you face any problem, you can contact me directly. The link to Telegram Channel is given at the bottom of the site.
You can also send messages through YouTube, Instagram is also given, you can do it through vehicle and you log into main. I hope you have edited the log yellow tone lightroom preset If anyone cares, you can share it with me.
You can also message me directly from here, I can easily see your message and can reply immediately. Also, guys, we have many lightroom presets coming our way.
Subscribe to this channel and stay tuned to the channel. There are many presets available for you to download and install. If anyone cares, please tell us one more thing and what type of lightroom preset is required.
How do I create a Yellow Tone Lightroom Preset?
To create a yellow tone Lightroom preset, adjust settings such as white balance, color tones
Do professionals use Lightroom presets?
Lightroom Presets Improve Your Consistency
What preset did I use in Lightroom?
Go to the Develop Module. On the left hand side of the screen, scroll down the panels, past your presets till you come to the history panel.
How do I download Lightroom presets?
Open the Lightroom application on your phone and select an image from your library and press to open it.